Friday, August 25, 2006

Wire-wrapped necklace & earrings


Mary Ellen and I took another class with Nancy Jones yesterday, and here is my result ... it was originally supposed to be a choker, but I added the drop since a choker isn't my best look. I really like the earrings best. The technique is fun and easy, but requires some hand strength. 22-ga. sterling silver wire with black glass beads.

Mary Ellen's necklace and earrings are really the ones I want ... she chose to use some frosty-blue stones with copper wire, and they turned out to be just stunning. Mary Ellen, wanna trade, LOL?

Tuesday, August 22, 2006

Make It Do or Do Without


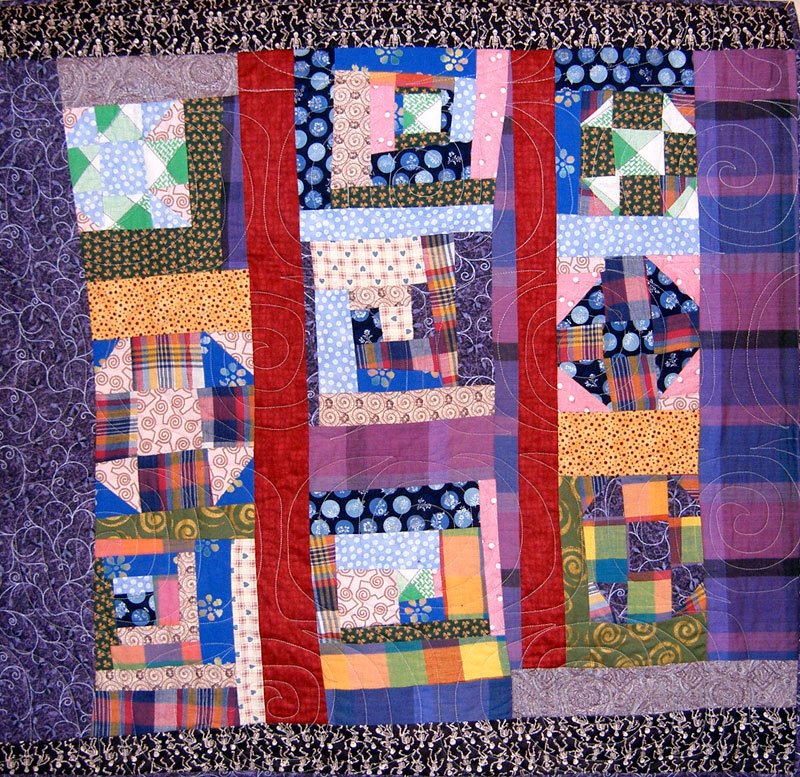
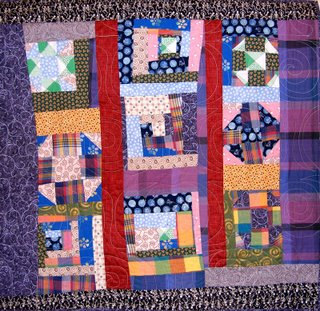
After finally getting to see the Quilts of Gee's Bend exhibit at the Houston Museum of Fine Arts this past week (which was an amazing experience), I was inspired to make some sort of homage quilt. Then I remembered that I actually had already made one ...

In 2001 I took a class with Roberta Horton at the Houston International Quilt Festival, called something like "African American Quilts". The idea was to re-create a small quilt in the style of the slaves who had no choice in fabrics but what was thrown away or given to them, and of course no modern templates, rulers, or rotary cutters. We were to cut our pieces freehand, with nothing but scissors and our imaginations.

She gave us each a pice of "ugly" green fabric that we had to incorporate with the fabrics that we had brought to class, and we made some simple traditional blocks with scraps, 4 of one block and 5 of another. (The two blocks I chose, Log Cabin and Hole in the Barn Door, are barely recognizable.) On at least one of the blocks we were to alter something in the design – turn one of the elements backwards, for instance - to make it different. The strong vertical lines were important in the African influence of the design, as were the varying fabrics for the borders.

I never liked this quilt when I made it, and it has been sort of hidden away ever since. After seeing the Gee's Bend quilts, however, I've pulled it back out, and it now has a new kind of beauty for me.

Lapis Sunburst Collar


My Dad had this gorgeous necklace made for my Mom, quite a few years ago in Mexico ... he thinks it may have been in San Miguel de Allende. It has a wrap-around collar made to fit her neck, with a large (25x38mm) lapis lazuli cabochon in the center of the 4" x 5" hand-wrought starburst. (For some reason the beautiful veining and the shine of the lapis do not show up well in this photo.)

Both the collar and the starburst are signed (engraved) by the artist on the back. I had the metal tested by a jeweler, who proclaimed it a copper-heavy bronze. The whole piece is very heavy in weight.

I just spent almost an hour cleaning this piece, and want to preserve its beauty for as long as possible before having to clean it again. I've been advised that a lacquer coating is recommended for bronze, but my local jeweler doesn't do that type of work. I'm wondering if a couple of light coatings of a non-yellowing spray acrylic protectant would work, without harming the metal. Or an automotive spray protectant? Of course I would protect the lapis cab first. Any suggestions?

Saturday, August 12, 2006

Ndebele Rope


I love this necklace! And I love the Ndebele technique (pronounced "in-de-belly"). It's done with a needle-and-thread, using triangle beads. From another class with Nancy Jones, it's very easy to learn, but extremely labor-intensive. This 42" rope took me about 12 hours to finish, and was a birthday present for my dear sister-in-law, Verda.

Be sure to click on the image for a closer view.

Beaded Net Bracelets


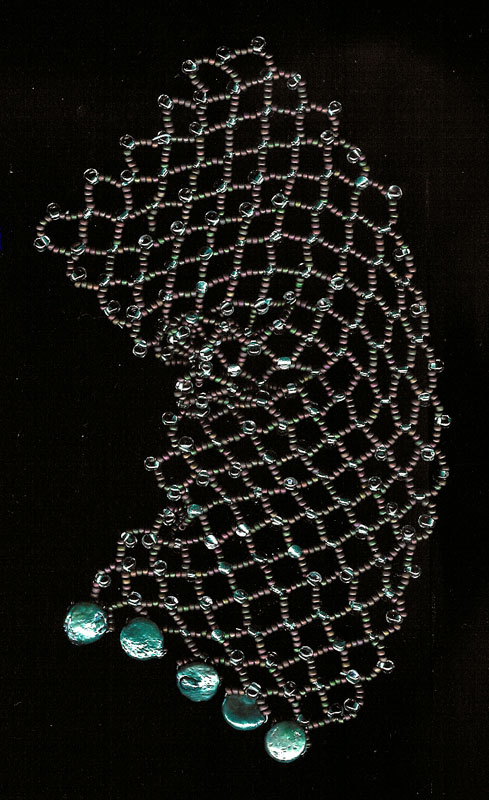
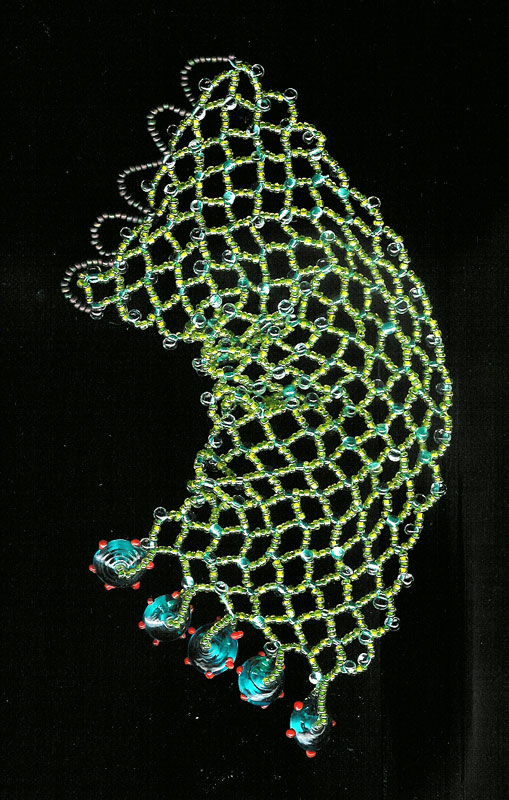
I took a class with Nancy Jones a couple of weeks ago, and have been making some beaded net bracelets. Here are two of them.

Thursday, August 10, 2006

A Whole Lotta Love by Tom Russell

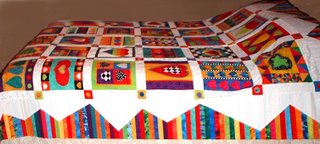
By chance I met Tom Russell at a local quilt show recently, and discovered that he doesn't maintain a website for his work. So I offered to post an image or two of this original piece, called "A Whole Lotta Love". It's 80" square, and although it's not a bed quilt, he had laid it out on a bed to photograph, as it has not been quilted and embellished yet. So you'll see two pictures of it, in order to see the edges as well as the center. Here's what he said to me about it ...

I started it when I started quilting 5 years ago. It started as part of a workshop given by my old high school art teacher and another quilter friend. My high school art teacher's quilt was pictured across from mine in Quilting Arts Magazine. He inadvertently got me started in quilting. I designed this quilt after that workshop and it took me this long to get it finished. The HGTV stuff kept me busy for a few years along with other quilts I needed to make. I made it my goal to finish this quilt when I moved to Houston. Now that it's pieced I have to quilt it and then it's almost finished. It'll take me a few months to embellish it, but it should be show ready by the end of the year.

I found this on Tom ... http://www.apqs.com/quiltertomrussell.htm , and I knew I had seen some of his work before too ... it was the 2004 Restore America quilt block of the month that he designed for HGTV ... http://hgtv.com/hgtv/pac_ctnt_nobanner/text/0,1783,HGTV_10680_24655,FF.html ... which is an incredibly artful project.

Here are the pictures of "A Whole Lotta Love" ... now I can't wait to see the quilt in person.


Tuesday, July 18, 2006

Frustrated Again

If anyone knows why my posted images will (only sometimes) refuse to enlarge, I would appreciate a hint! My original images are definitely not too large, the titles aren't too long, and there are no spaces in the titles. At one time I thought I had this figured out, but obviously not. Can anybody out there help? I have a "help" email posted to Blogger, but don't know when or if they will ever get back to me. I'd really appreciate any advice or suggestions! Thanks ...

Hands Across the Water

I've been corresponding a bit lately with a lovely fiber artist in Denmark named Inge Reinholdt, http://www.123hjemmeside.dk/ingesol. She surprised me with a wonderful gift of her artwork that I had admired, "Blomster":


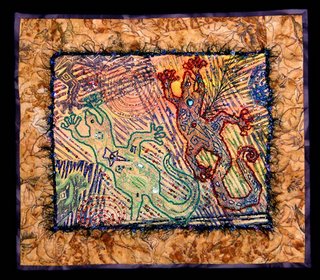
and I was so excited that I had to make a special piece for her, "Texas 2-Step":


As it turned out, both pieces ended up being about the same size, but that was just coincidence ... they're both about 14" x 16".


Thank you, Inge, for being my artistic pen-pal, and for having such a generous nature. I hope that my lizards will remind you of your Texas friend whenever you see them.

Gloria's metal thing


At one of our art play-days, Gloria made this little metal "thing" ... could be a pendant or a brooch or an embellishment for an altered book? When Gloria "gets ahold" of an idea, it doesn't take her any time at all to make it her own.

Thursday, July 13, 2006

Darleen's Digital Painting

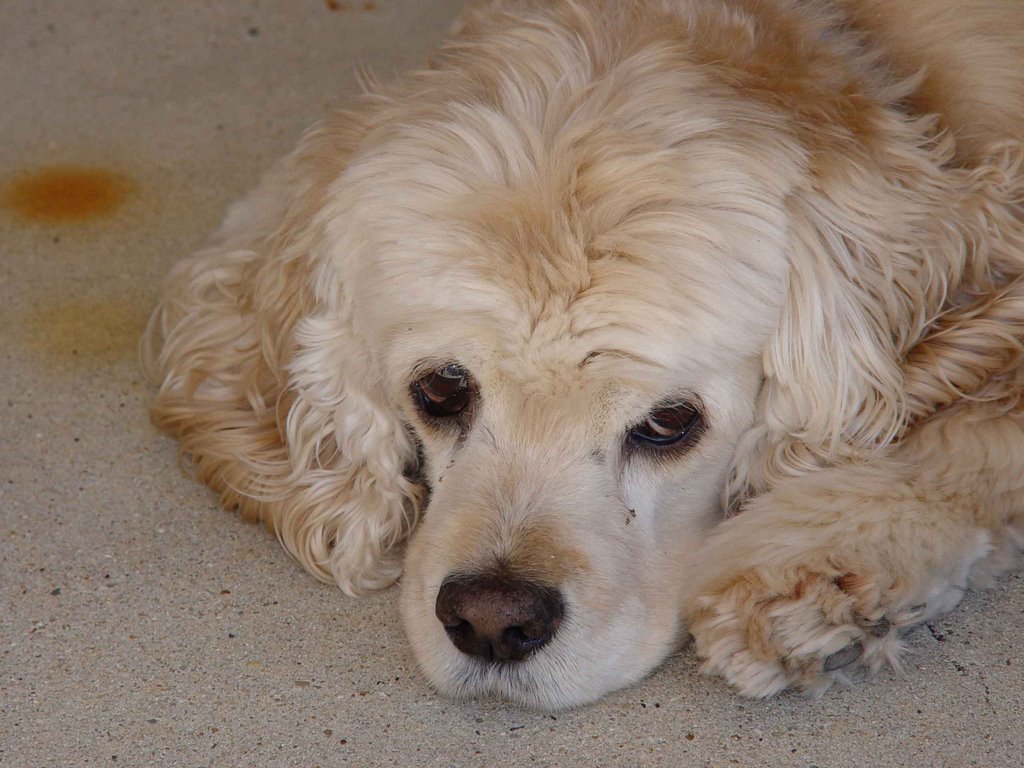
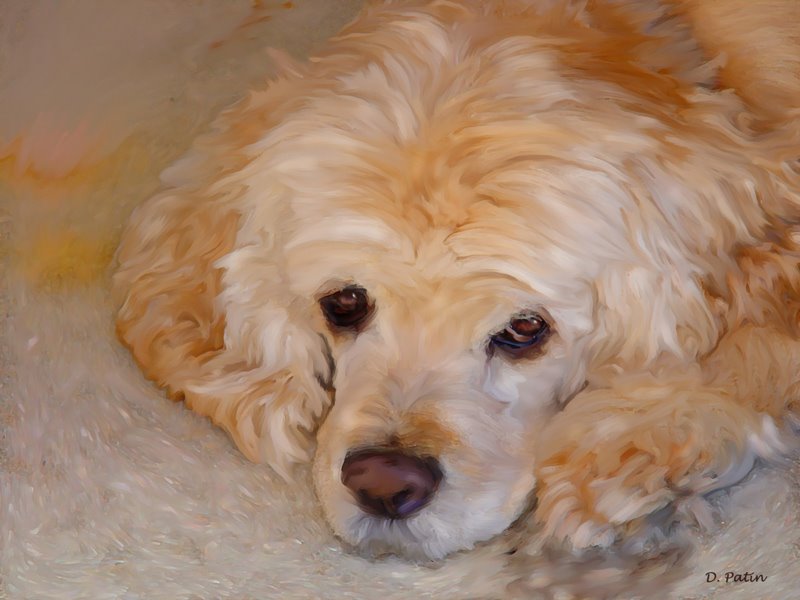
My dear friend Darleen has been playing in Photoshop again, and has created a beautiful digital "painting" from a photograph of her sweet cocker spaniel, Suzi. I don't know how long it took her to "paint" the image with her computer mouse, but the result has a very impressionistic look to it, and I love it. Since I don't have anything of my own to post today, I thought I'd share a bit of beauty from Darleen's world.

First is the original photograph of Suzi lying on a stained concrete garage floor ...

And then the masterpiece ... an impressionist painting worthy of framing. In fact, I printed it on canvas in my Epson printer, and it now resides on my office wall. Be sure to click on the second image to get a better view of the "brush strokes".

Saturday, July 01, 2006

Copper Pendants or ???

On our last day in Suzan Kraus's workshop, we made copper pendants by cutting out copper sheets, distressing them with hammers and heatguns, and weaving inserts to go behind their little "windows". These are some of my results. (The copper colors don't show well due to the scanner light.) They are about 1-1/2" square, excluding embellishments.

Be sure to click on the image for a larger view.


Feminine Memory Vessel

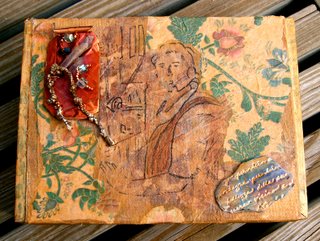
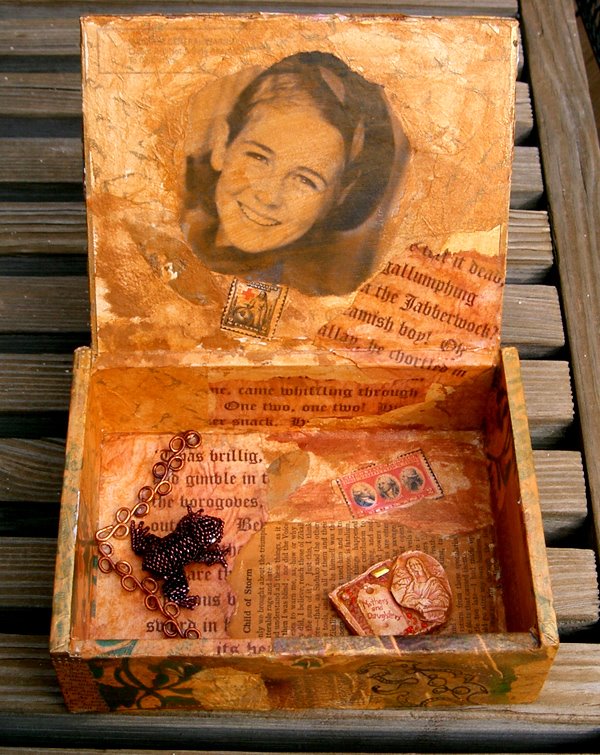
In Suzan Kraus's Signs & Symbols workshop, hand-writing with our off-hand, collage techniques, personal symbols and memories ... all were included in our Feminine Memory Vessels ... rather a high-falutin' appellation for my old cigar box, but a fun and interesting project. I wasn't totally pleased with my end-result, but it's worth presenting here, with all its flaws.


Signs & Symbols Collage Workshop

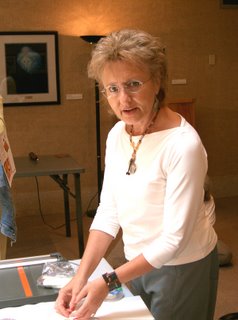
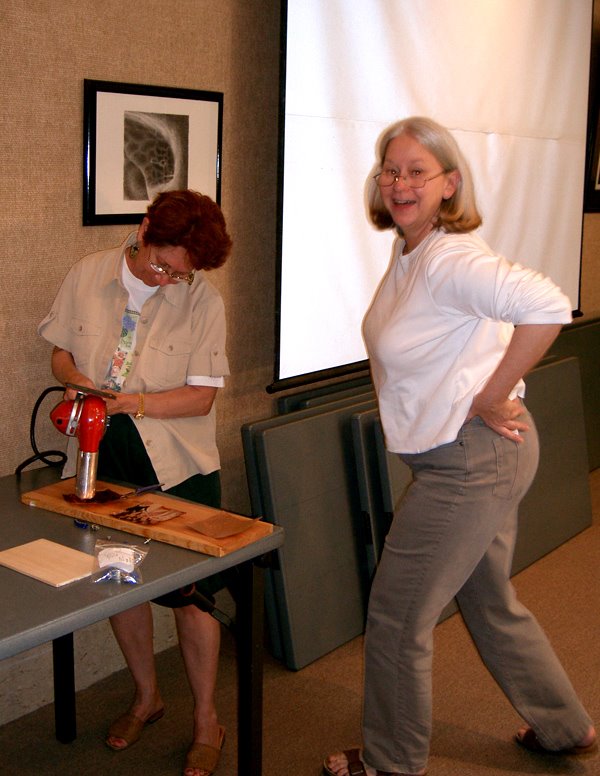
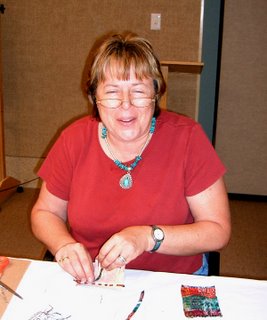
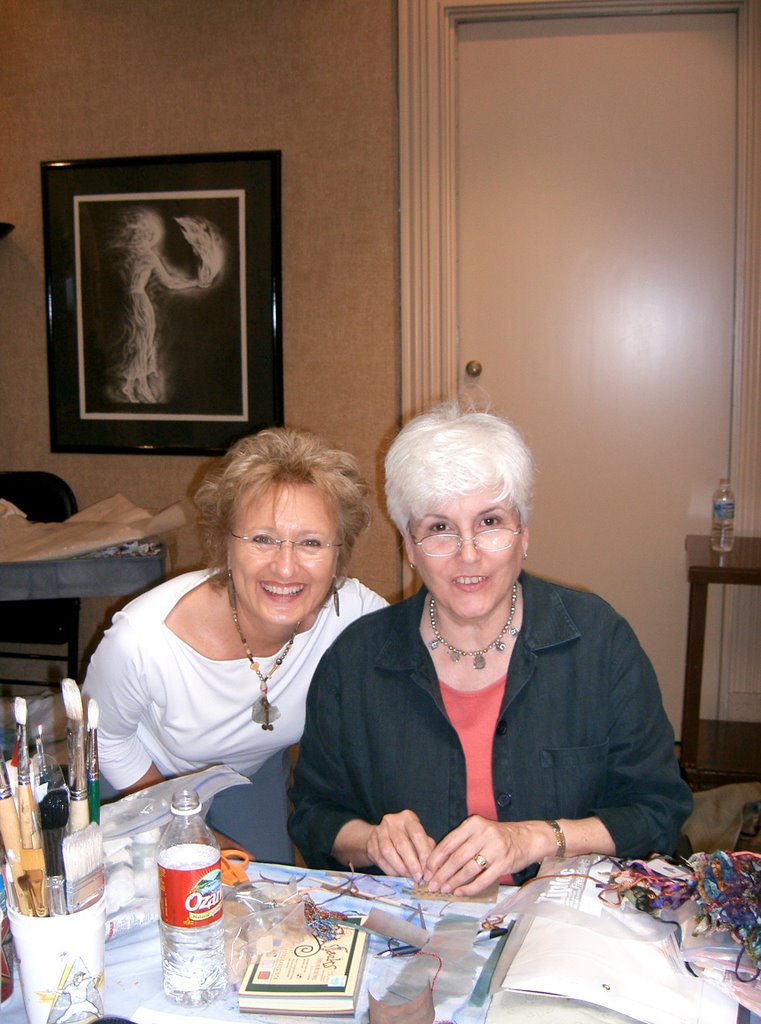
I recently took a 4-part collage workshop with Suzan Kraus at the Jung Center here in Houston. It was based on the 5 universal signs and symbols, and included inspirations and techniques for various collage projects. Suzan is a wonderful teacher, very kind and generous, and we all had a great time. I took pictures of some of the students on the last day, and got everyone except Anne, who must have been visiting the "necessary" while I was shooting! She's a lovely lady who also contributed a lot to the class ... sorry, Anne, I'll catch you next time!


Suzan Kraus, doing a demo.


Susie & Laura, heatin' & dancin'


Mary Ellen, weaving copper & paper

Suzan & Nancy collaborating


Patricia heating up the place.

Christy & her bright weavings.
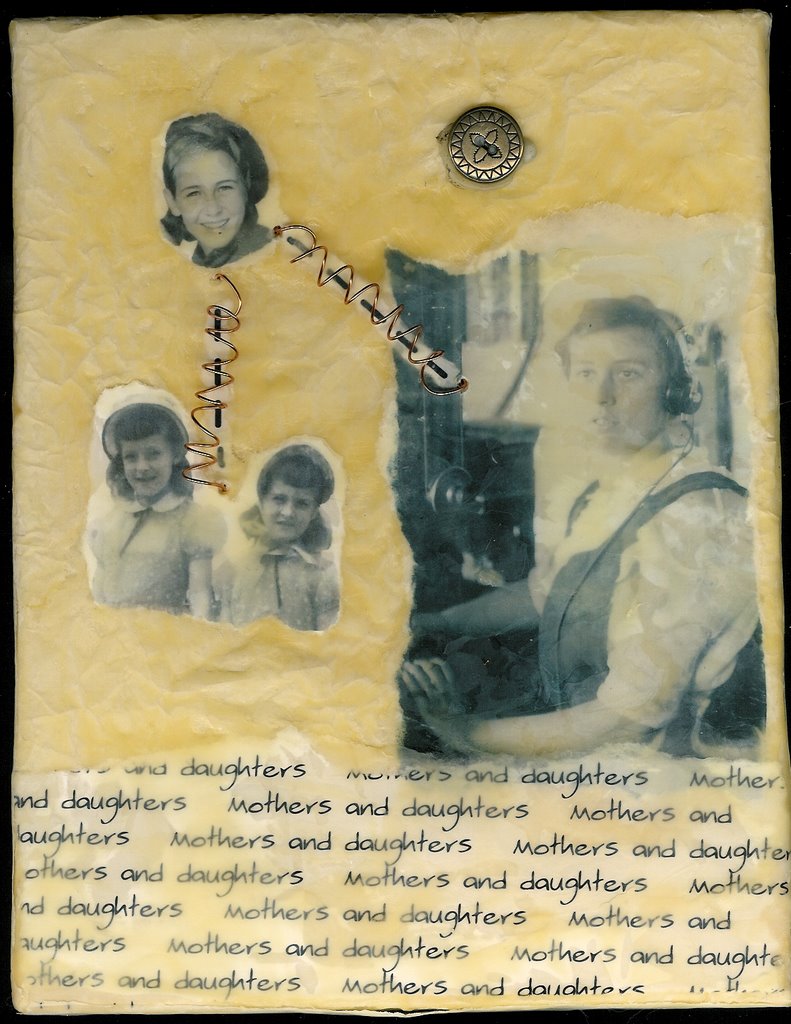
Mothers and Daughters


I neglected to post this little encaustic (beeswax) collage I had done for my Mom for Mother's Day (which I guess is appropriate since she didn't receive it until Father's Day!)

Simple unbleached beeswax embedding collaged images; stretched canvas support. The coiled copper wires represent both the telephone lines that my maternal grandmother handled as an early telephone operator, and the ties that bind the female members of my family.

Sunday, June 25, 2006

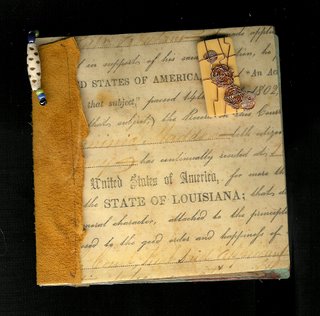
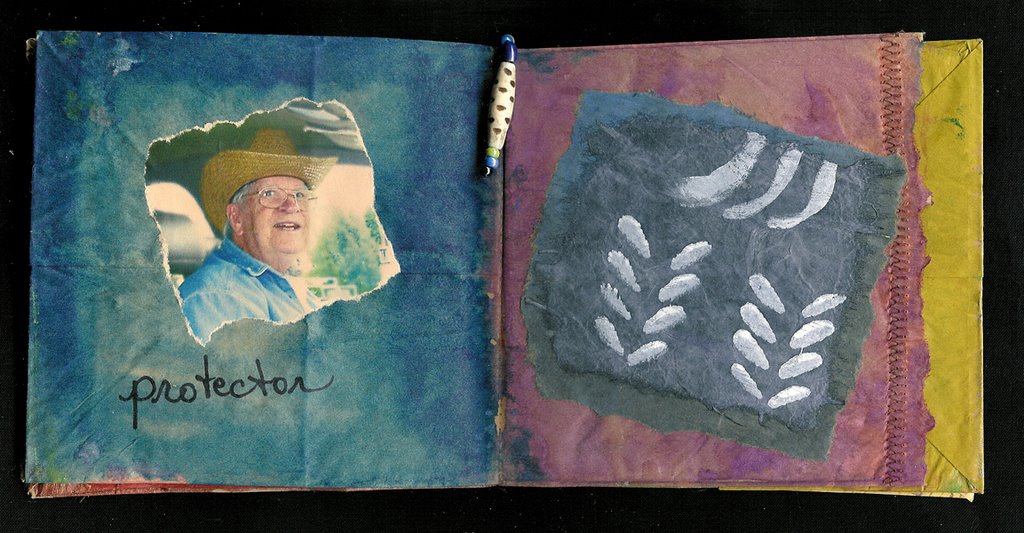
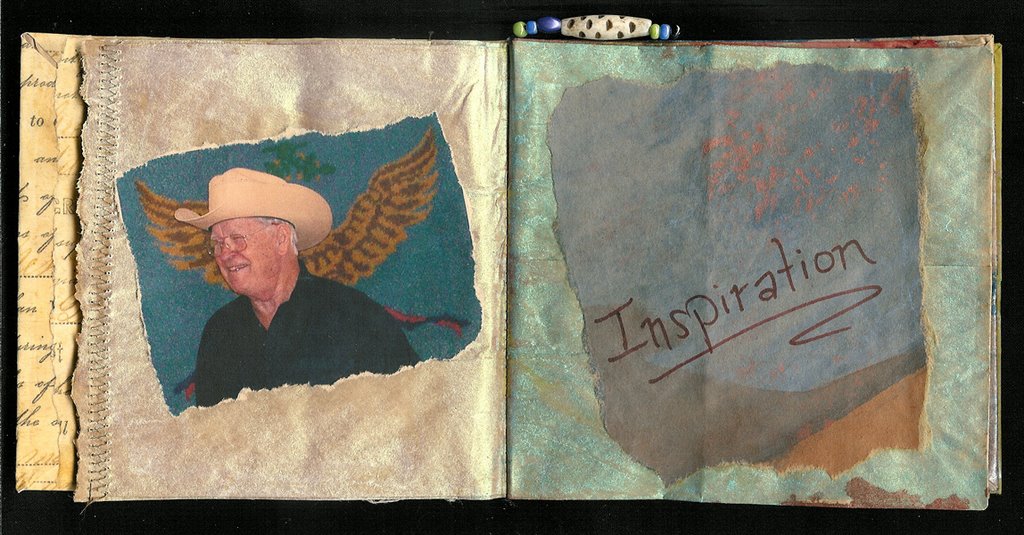
Father's Day Book

For Father's Day this year I wanted to make a little book for my Daddy. The book is made of brown paper lunch sacks, folded in half and stitched down the center, with a tanned deerskin binding. The deerskin was from a deer killed by my Dad's mother, Hallie, who was an avid hunter all her life. The cover is embellished with a vintage domino, wire-wrapped with copper wire (stitched through the cover of the book), and a beaded "bookmark".


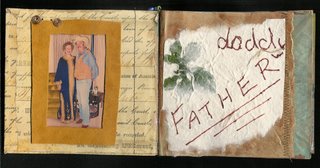
The photo below (framed in the same deerskin) is of my Mom & Dad, years ago in London, on their way to a costume party.


Daddy always loves to make people laugh, even (or especially) at his own expense. It's one of his most endearing qualities.

All 4 of us (now grown) kids have always known we could turn to our parents in good times and bad, with never a fear of being turned away without a well-thought-out solution (or two) to our problems. We recognize that we are very lucky in our choice of parents!

Inspiration is the word ... to strive for quality over quantity, to treat others with respect, and most of all to respect ourselves and act accordingly.

My father has always been, and will always be, my favorite Life Teacher.

Monday, May 29, 2006

Credit the Quilter?


The semi-annual question of whether the quilt artist should necessarily credit the "hired hand" quilter who quilts his/her artwork has arisen again on the QuiltArt list. Being a professional quilter who prides herself on adding value to her customer's quilts, my opinion naturally falls on the side of acknowledging credit where credit is due.

If the quilt-top maker (or fiber artist) specifically instructs the quilter as to where to place each line of stitching, then the quilter is only following directions and is, indeed, simply a "hired hand". If, however, the quilter adds artistry through his or her own imagination, skill, and talent, then there is no question that the quilter has collaborated with the fiber artist in the creation of the work of art ... regardless of whether the quilter was paid or not.

If there is any doubt as to whether the quilting can "make" the quilt, compare these two detail images of a small section of an art quilt ... one with quilting and one without ... and make up your own mind.

Friday, May 26, 2006

No Reason

A Very Bracelet Day


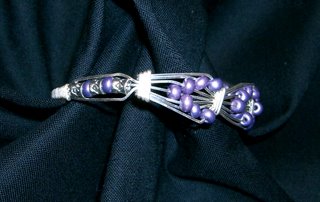
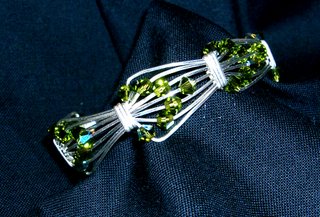
Today was supposed to be an Art Day with some of my Art Friends, but two of them had to cancel out, so that left Sweet Patricia and me to have our little Bracelet Party all by ourselves. That's OK, that meant we had our guacamole salad, pinwheel sandwiches, fresh mangos & papayas, and oatmeal-raisin cookies all to ourselves! And luckily, Patricia was able to help me figure out the errors in my scribbled instructions for making these wire-wrapped silver-and-bead bracelets, so we had a ball making them. Since she doesn't care for the look of crystals, she used some gorgeous plum-colored matte beads in her bracelet, while I used moss-colored Swarovski crystals in mine.

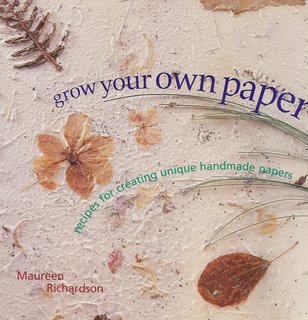
I also got a lovely surprise ... a wonderful book on paper making ...

... thank you, Patricia, I love it!

Thursday, May 25, 2006

Red Hot Alien Mamma


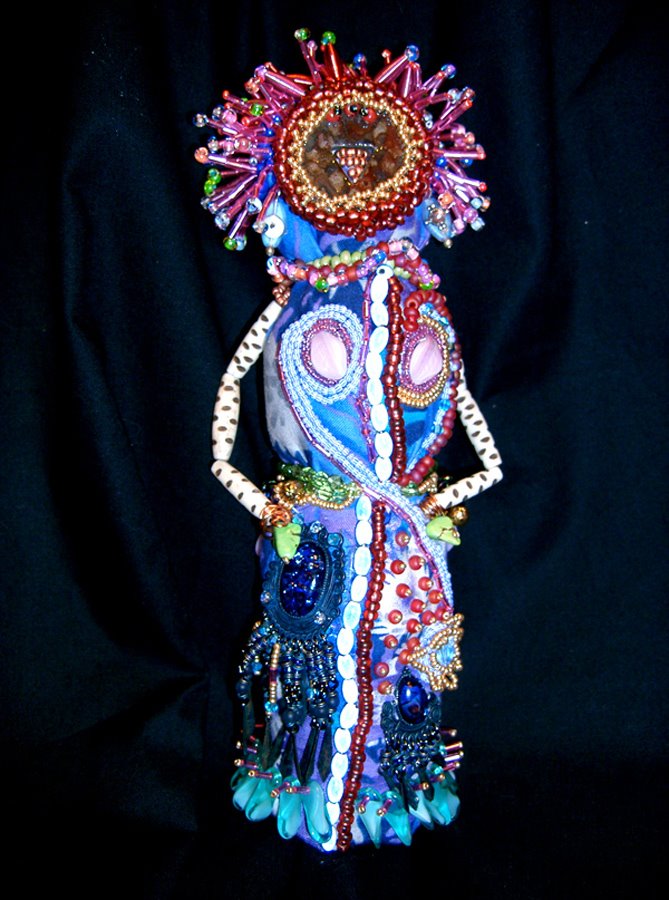
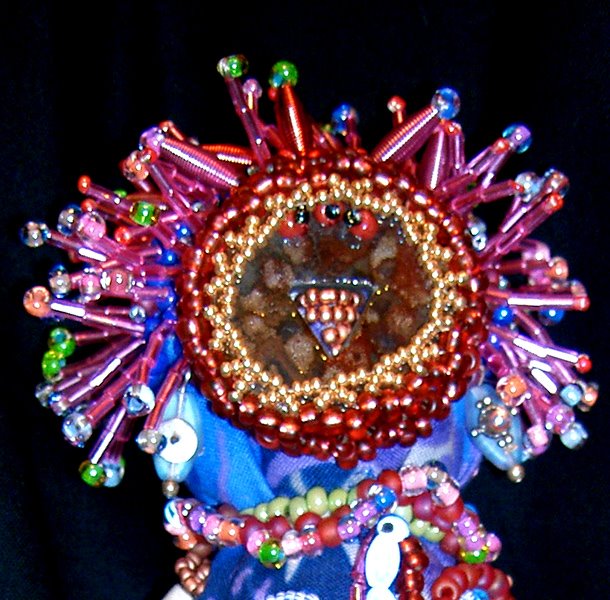
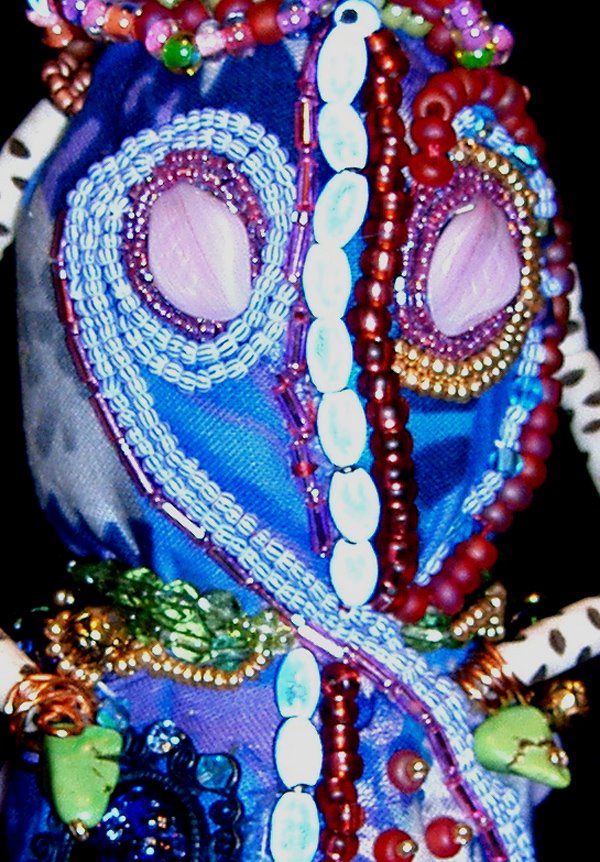
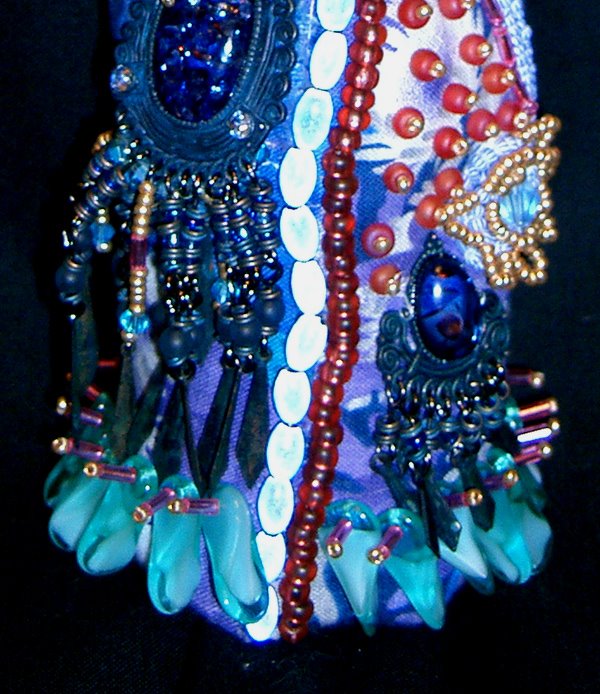
Here's another "thing" that started out as one thing and ended up as another. I was going to make a simple little cloth art doll with a few beads. It began with a wooden handle from a jump-rope as the body, covered with soft batting and a piece of scrap fabric, tied with twine. Then she needed a face, so I found one of my favorite raku beads for her. Several weeks later, she now has 3 beady eyes and a mouthful of scary teeth, a revealing-yet-tasteful garment, and an extremely bad hair day. (The hair alone is probably about 18 hours' worth of work.) At 9" tall, she's quite heavy, and her name, of course, is Red Hot Alien Mamma.

Friday, May 19, 2006

A bit of silk painting


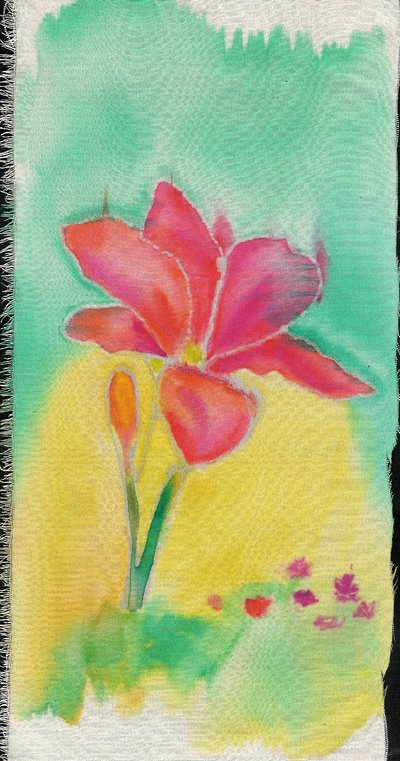
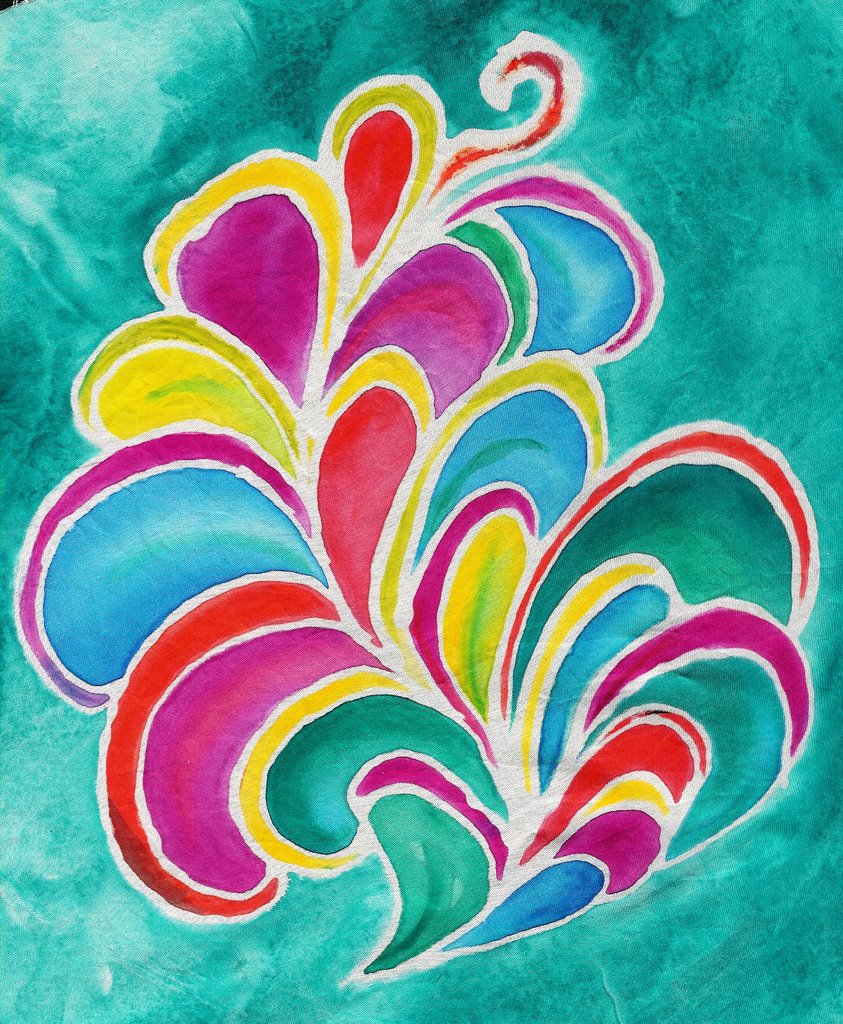
Joan Radven of HAFA (Houston Area Fiber Artists) taught a lovely silk painting class today, and one of the new things I learned about was a water-based resist called Sabra Silk Resist. The nice thing about it is that you can apply it, then apply your dyes or paints while the resist is either wet or dry. The first test was on silk crepe, which I decided I really like ... but my resist lines were too thin, and the dye "jumped the bridge", as you can see from the first picture above. The second test was on silk habotai, and I was careful to leave a heavier trail of resist this time. Result ... no breakthroughs. Next time I'll try adding a pinch of dye powder to the resist before applying it, for a colored line instead of a white one.

Despite my failure with the first resist test, I find that I prefer that image to the second one, because of the softer color on the crepe vs. the harder line on the habotai. Joan made the class really fun and informative, in spite of fighting a cold and laryngitis ... thanks, Joan!